I have to say that I am very happy with the router template method of cutting the ribs. These nose ribs were so well aligned and accurate that I was able to look through the end rib jig holes and see all the way through to the other side.
Started February 14, 2004
The flap assembly started with the flap spar being cut to the proper length as called out in the plans. All edges were deburred on the Scotchbrite wheel. The hinge center-lines were then marked on the front of the flap spars and all of the nose rib locations were drawn with arrows indicating proper flange orientation (facing inboard or facing outboard) as per the plans.
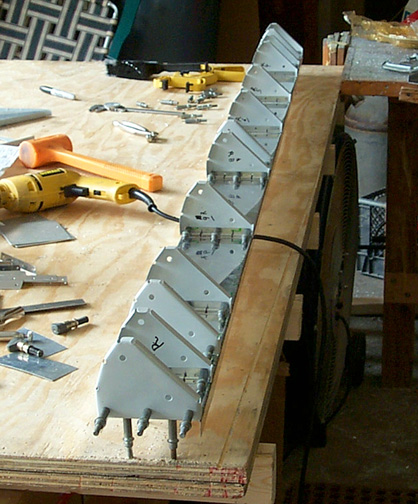
The nose rib attach angles were then pre-drilled for the ribs and spar, then they were drilled to the spar and clecoed in place. Here is a picture with all of the nose ribs in place:
I have to say that I am very happy with the router
template method of cutting the ribs. These nose ribs were so well aligned
and accurate that I was able to look through the end rib jig holes and see
all the way through to the other side.
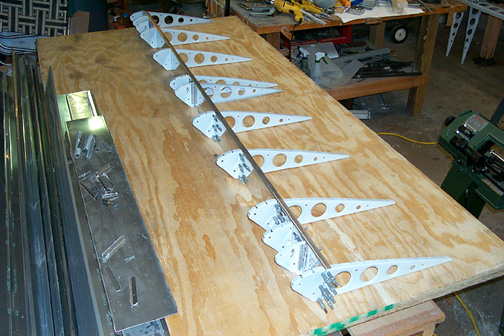
The flap ribs were drilled to the back of the spar again assuring the proper flange orientation as per the plans. Again, since these were so accurate due to the router template cutting method, these ribs were placed touching the spar, clamped in place and drilled to the rib attach angles which were already pre-drilled.
To drill the nose skin to the flap ribs takes a little planning and lots of measuring. Here is the flat part of the flap nose rib, bottom side, drilled to hold this part in place:
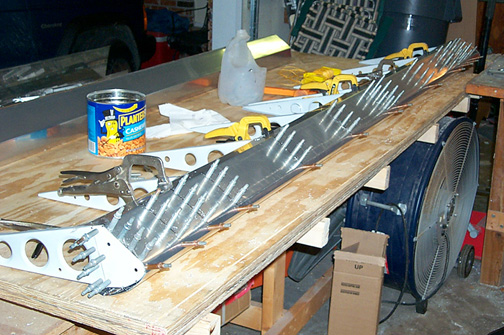
The spar has not been drilled yet at this point.
Click here to go to Flaps page 2