
Started May 26, 2004
The plans do not detail fuel tank construction, however, the tank plans are contained in the April 1996 Beartracks newsletter.
The fuel tanks are constructed from .050 thick 5052 aluminum sheet. The tanks are initially riveted together then the seams and rivets are all welded water tight. The 5052 is a weldable alloy of aluminum. I have found that 1 sheet of 4 x 8 will make one tank, with skins, baffles and end ribs, and have enough left over for the skin stiffener "hat" shaped channels in the fuel tank area of the wing.
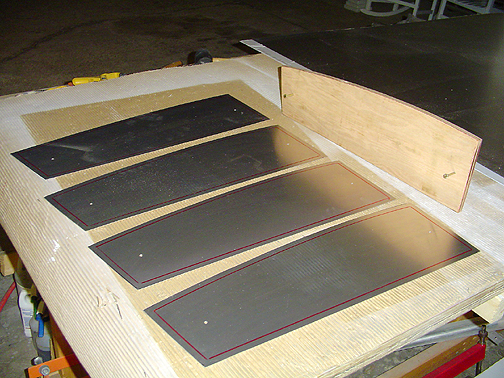
The skins are very straight forward and are cut to the proper width and length and then are bent on a brake to the shape shown below:
Notice that there is a 1/2" flange on each bent leg. The bottom skin is bent at 90 degrees and runs along the bottom of the tank and then up the front face of the tank. The top skin has a 100 degree bend and runs across the top of the tank and down the aft side.
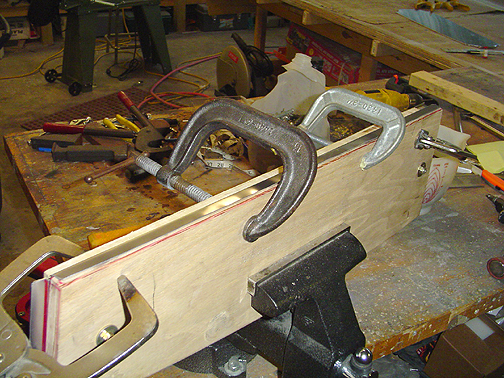
The ribs and baffles are formed exactly like the wing ribs using a formblock and bending the flanges over the block. There are flanges on top, bottom and both ends.
As in the wing ribs, a couple of jig holes were drilled in the form blocks and the rib blanks. The jig holes are 3/16" and will be plugged with a couple of 3/16" rivets to seal them up later:
The corners of each end rib was drilled and trimmed as a relief, to allow the rib flanges to bend. I used 3/16" drill and tin snips to cut the corners. Remember to keep it tight as these holes must be later welded shut.
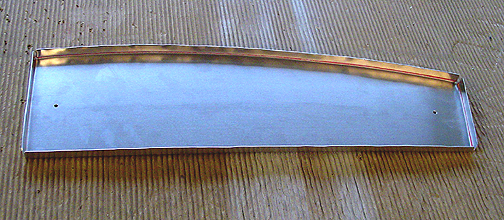
This 5052 is a lot softer than the 2024 aluminum used for the ribs. Therefore, the spring back seen in the 2024 is almost non-existent in these ribs, and as shown below the flange lays almost flat after forming:
Here is a picture of one of the end ribs after forming:
The baffles are identical to the end ribs except the corners are cut off 1" to allow fuel to flow through from bay to bay in the tank.
The ribs and baffles were slightly curved after forming. Instead of fluting like was done on the wing ribs, I used a shrinking tool to slightly shrink the flanges and straighten the ribs. This keeps the flanges nice and flat to provide a better seam for welding later.
Here is a picture of the first tank in the porcupine stage:

Initially, I used 1/8" but will eventually open the holes up to 5/32" as per the plans in the newsletter.
Click here to go to Fuel Tanks page 2
Click here to go to the Wings Index page
Click here to go to the Home Page