May 15, 2003
With the skins all dimpled, deburred, edges trimmed to final shape and smoothed,
the wings skins were clecoed back onto the skeleton. Riveting began
with the nose ribs. With my Father-in-Law and building partner Lonnie
Gibbons helping, we had a 3 day marathon and got the left wing done.
Lonnie helped me when I built my RV-6A and together we have driven several thousand rivets. We have found over the years, that the best arrangement for us was for me to do the bucking and Lonnie running the rivet gun.
The nose ribs were riveted first, with me reaching up through the main spar lightening holes to buck the rivets. We did one row across at a time, starting with the top row and working our way down, stopping just short of the spar.
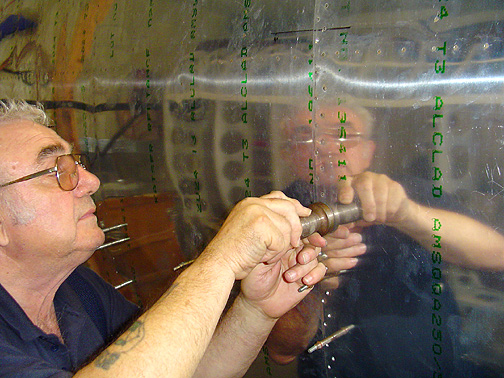
Next, the tops skins were riveted using a back-riveting method. Back-riveting is just setting the shop head of the rivet with the rivet gun while holding a heavy weight bucking bar on the manufacture head of the rivet. The rivet gun is fitted with a special rivet set that is designed for back riveting. The bucker puts the rivet in the hole then places the heavy weight, round, flat bucking bar on the rivet head to hold it in the hole, the rivet is then driven from the other side with the special set.
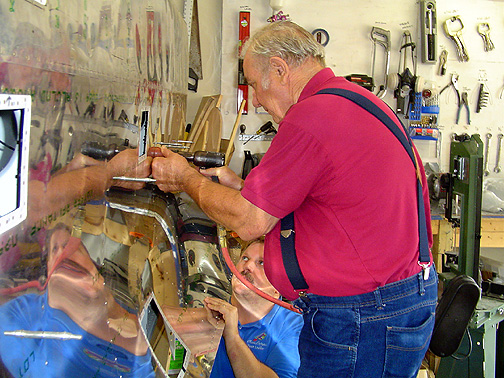
Here is Lonnie holding the bucking bar on an AN426AD-4 flush rivet, on one the skin overlap joints of the top of the wing:
Meanwhile, I was driving the rivet on the other side with the rivet gun and a long, off-set back riveting set:
Back riveting is only possible when you have open access to the back side of the rivet. Back-riveting produces very smooth skins with rivets that are flush on the face side of the skin. Here is a close up picture of the skin overlap joint which has a double row of AN426AD-4 rivets:
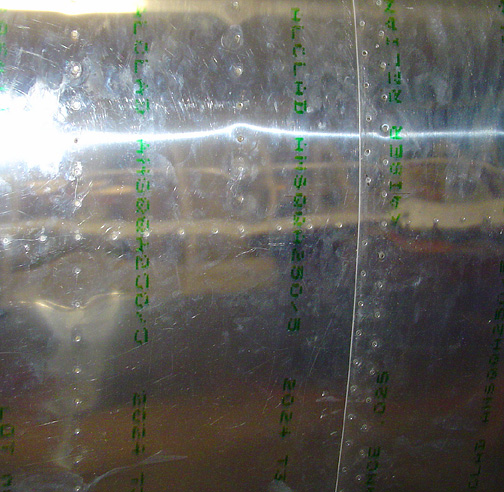
Note: In the picture above, the rivets above the spar line were driven
the traditional way, at and below the spar line were back-riveted.
Normally rivets of this size (-4) take enough pressure on the gun to distort the skin a little, but as you can see the back-riveting gives very impressive results. I highly recommend it.
With the top skins riveted, it was time to close the wing up and rivet the long bottom skin. The skin was slipped underneath the nose rib skin and clecoed in place.
This was one of the more difficult parts of the process because of the lack of access to buck the rivets. We started with the spar rivets. Note: Double check that the wing is still straight and has no twist. Once this part is riveted, the wing is locked in whatever position it is in at the time, so make sure.
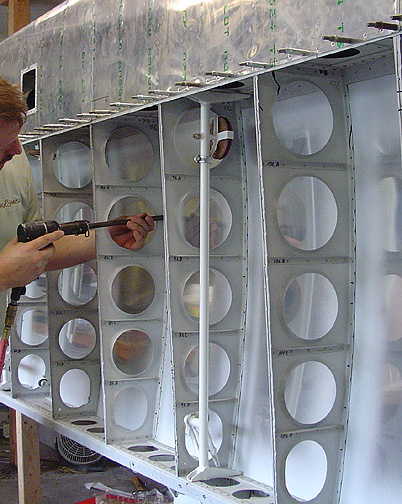
Some of these rivets could be reached through the inspection holes, but to reach many of these rivets, we had to roll the skin back and I crawled in between the skin and the wing skeleton to buck the rivets, as shown below:
Once all the spar rivets were finished, we started down the ribs again doing a row across at a time working from top to bottom.
The last 4 or 5 rivets were reached through the rear spar lightening holes.
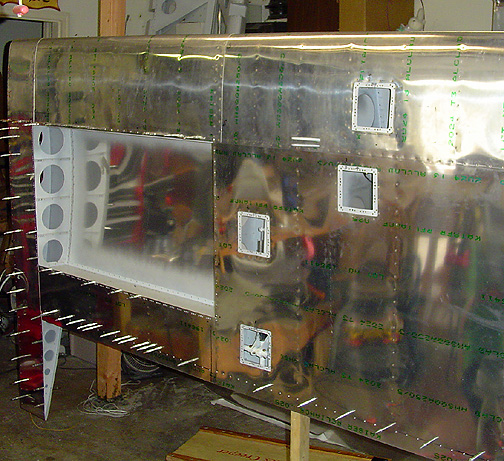
Here is the wing bottom all riveted on:
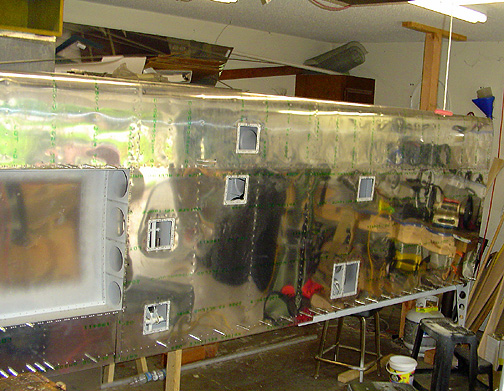
The bottom row at the rear spar will be finished up after I make the skin stiffener that goes in the flap area, aft of the rear spar.
Well that's it for our 3 day marathon session. I can finish everything else on my own so Lonnie has gone back home very tired but elated that we got so much accomplished. This is what we call MVP (major visual progress)
Here are some various pictures of the riveted left wing. I still need to install all the nut plates around the fuel tank area and finish up the wing root rivets which is easy because they can all be set with a rivet squeezer.:
Click here to go to Wing Skins page 6
Click here to go back to Wing Skins page 4