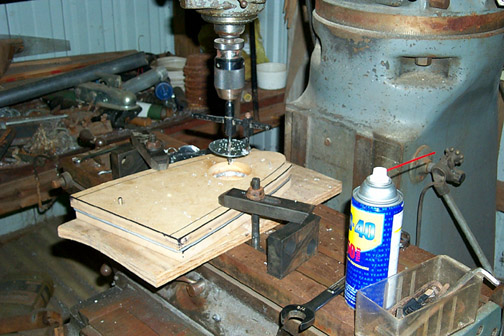
Here is the setup in the machine we used to cut the lightening holes
in the nose ribs:
We were able to stack 5 ribs at a time between the templates that were made
earlier and cut all of the lightening holes in the 46 nose ribs in about
2 1/2 hours. Cutting these out with snips would have taken at least 2 weeks
and the holes would not be as uniform at they are now.
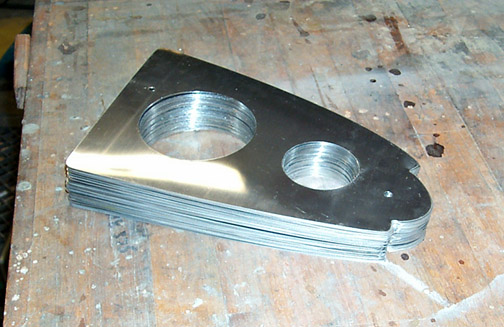
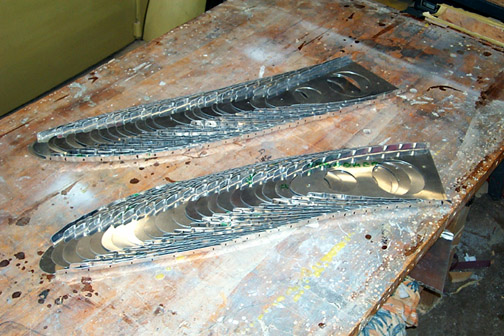
Here is a picture of the 46 nose ribs ready for flanging the edges:
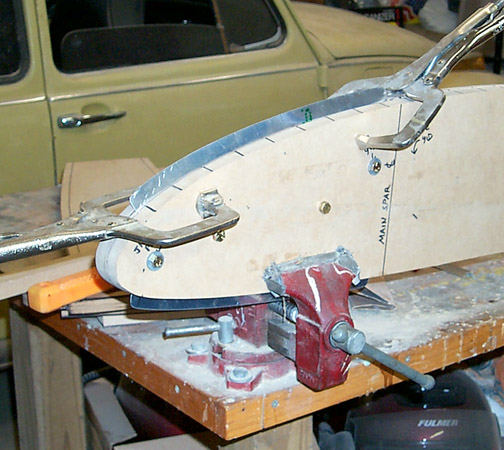
To bend the flanges, the nose rib is clamped between the two formblocks,
bolted together through the jig holes to assure proper alignment and clamped
down tight. Here is a nose rib clamped in the formblocks just prior
to bending the flange:
The marks on the formblocks are where the rivet locations will be. These
marks were transferred to the nose rib after bending the flange. That
will give me a reference of where not to apply the flutes for straightening.
The edge that you see sticking up was carefully bent over using a dead blow
hammer. The key to getting all of the ribs to be identical in size
is to set the radius first. The very corner of the bend must be formed
to the formblock.
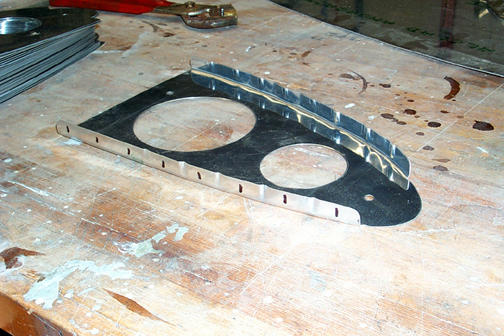
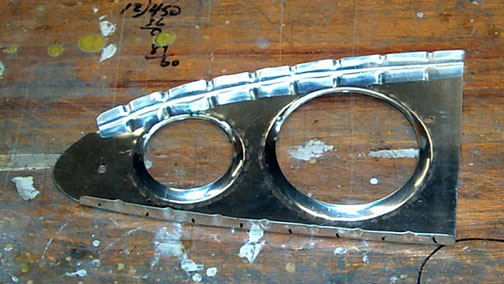
Here is a nose rib with the flanges formed on the edges and all fluted to
be straightened:
It took about 2 weeks but I finally finished deburring, bending and fluting
all of the nose ribs. Here they are: 23 right and 23 left for
a total of 46 nose ribs: