Once all of the ribs were drilled to the spar attach angles, the wing was once again disassembled and all holes were deburred in preparation for riveting.
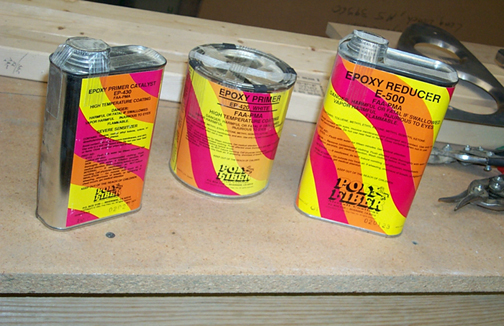
I also took the opportunity to sand blast and prime all of the wing steel parts (some of them were starting to show signs of rust). The steel parts were all sand blasted with aluminum oxide sand and a high pressure sand blast gun (el-chepo from Harbor Freight). They were then cleaned thoroughly with acetone and primed with the same Epoxy Primer as was used on the aluminum parts. The steel was not acid etched nor Alodined. The sand blasting does a good job of roughing up the surface and the paint sticks well.
The wing skeletons were re-assembled and the ribs were all riveted to the spar attach angles.
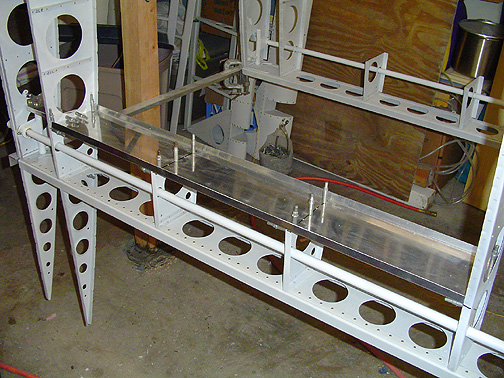
The next item installed was the false spar that runs between center ribs #2 and #5 behind the fuel tank area. This is a piece of .032 with 5/8" flanges bent to match the ribs at the correct height. Here is the left wing one drilled and clecoed in place:
As you can see, the flanges point toward the front of the wing and they slip inside the flanges of the ribs. I joggled these a little to fit in place properly.
Click here to go to Wing Assembly page 4
Click here to go back to Wing Assembly page 2