
The gussets differ in thickness according to location so check your plans carefully. The gusset at the hinge located closest to the root end of the aileron (facing the inboard end of the wing) calls for an .032 thickness. This is because the aileron push tube will be attached at this hinge location so the stress is greater here:
The gusset at the hinge located near the tip end of the aileron calls for an .025 thickness. Since these two gussets are identical in shape, I marked them well as each was cut out and formed:

The triangular shaped gussets on each end rib call out .020 thickness aluminum.
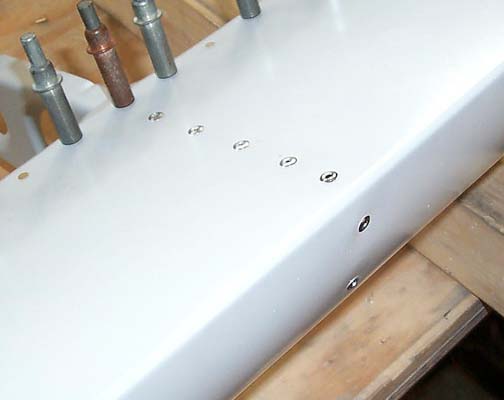
With the gussets all drilled to the aileron, it is ready for disassembly, deburring, dimpling the holes that have flush rivets and prep for prime. As I did on the flaps, the trailing edge of the ailerons will not be attached until it is fitted to the wing. This will allow me some minor adjustments to hopefully get a perfectly aligned trailing edge with wing root, flap, aileron and wing tip.
The aileron parts were all primed using the techniques outlined on the priming page.
During reassembly, I found a small problem with the fit of the counter-weight tube to the nose ribs. When the holes were made in the nose ribs, I didn't get the edge of the hole right up against the rib flange. Therefore, the tube does not lay against the rib flange and small gap is created. I'm afraid that when the pull rivet is squeezed down, the skin will be puckered and create an ugly dent at each rivet location. To fix this, I made a small shim out of .063 aluminum that's about 2" long and 5/8" wide and inserted it between the rib flange and the tube to fill the gap:
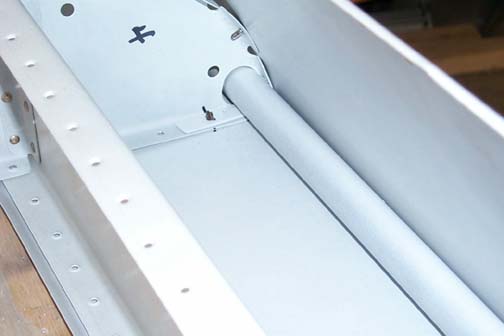
In the picture above you can see the hole is a little oblong. This is because I attempted, at first, to open the hole a little but since I had already drilled the rivet hole front edge, the tube was held up away from the bottom by the clecos, so I decided to just shim it. You can see the shim laying between the bottom of the tube and the rib flange. I made the shims long enough to be caught by the rivet aft of the tube as well as the rivet that goes through the tube itself. Of course these shims were also primed. This worked fine and the skins lay nice and flat after riveting:
The rivets that hold the tube in place are Stainless Steel and capture the tube on each side of the 90 degree bend of the aileron nose skin at each rib location. The holes are drilled through the skin, rib flange, (shim in my case) and into the tube (as well as the lead inside the tube). The lead is soft enough that it gives way and allows the rivet to mushroom and set properly. The remaining rivets in the nose of the aileron are aluminum cherry rivets and again. as on the flaps, are the protruding head rivets.
Here is a picture of the completed Aileron Skeletons:
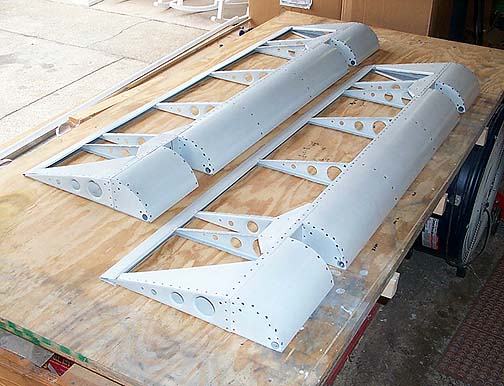
The trailing edges have just been slipped into place for now and will be permanently riveted in place after fitting with the wing. The counter-weights are riveted in place in the leading edges but I can't final balance the ailerons until the hinge brackets are attached. That won't happen until the wings are assembled and the ailerons are fitted to the wings. I'll cover that later.
Ailerons:
Completed: March 24, 2003
Total Time: 48 Hours
note: For now, the ailerons and flaps will be stored in a corner of the garage until the wings are assembled. At that time, they will be fitted to the wings, the hinge brackets will be drilled in place on the flap/aileron spars and nut plates will be attached inside the spars. The trailing edges will be riveted in place and finally, the ailerons and flaps will be fabric covered.
Click here to go back to Ailerons page1
Click here to go to the Wings Index page
Click here to go to the Home Page