Started March 12, 2003
Aileron construction is almost identical to the construction of the flaps so I won't go into a lot of repetitive details here. There are however some differences. One of the main ones is that the ailerons must be balanced to prevent flutter.
To balance the ailerons around the hinge point, some weight must be added to the leading edge of the nose ribs. This is accomplished by using a 3/4" (.035) aluminum tube, filled with lead. The tube will be 40 1/4" long and weighs approximately 6 lbs. when filled solid with lead. Russ Erb did an excellent job of summarizing the required weight to get it balanced and also some alternative ways to fill the tube without working with dangerous molten lead. You can get that info on his CD available by clicking here.
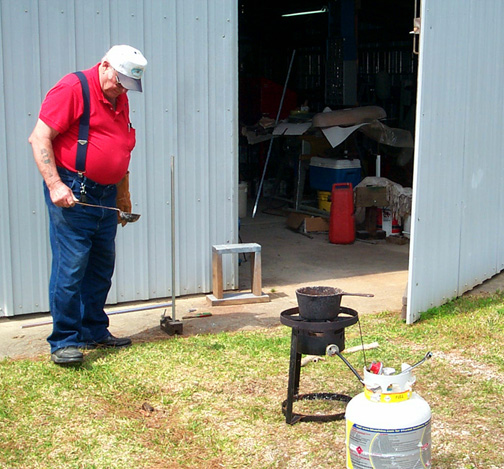
I decided to go ahead and fill my balance tubes with molten lead as per the plans.
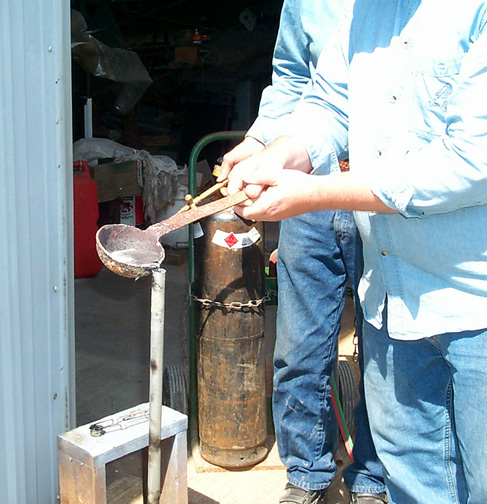
Here is my building partner Lonnie Gibbons skimming off some of the garbage that floated up to the top of the molten lead in the pot:
As you can see in the above picture, the balance tube (standing just to Lonnie's left side) is clamped in a drill press vice and sitting vertical on the ground. We used a small piece of aluminum plate at the bottom end of the tube to keep the lead from pouring out.
Molten lead was carefully poured in with the ladle:
The end result was two tubes weighing in at about 6 lbs each. These tubes will be installed in the ailerons and pop riveted in place along with the nose skins. Once completed, the ailerons will be balanced by drilling out some of the lead until balance is achieved.
That technique will be covered later, but for now, the ailerons are assembled similar to the way the flaps were. Here is one of the aileron skeletons ready for the nose skin to be fitted and drilled in place:
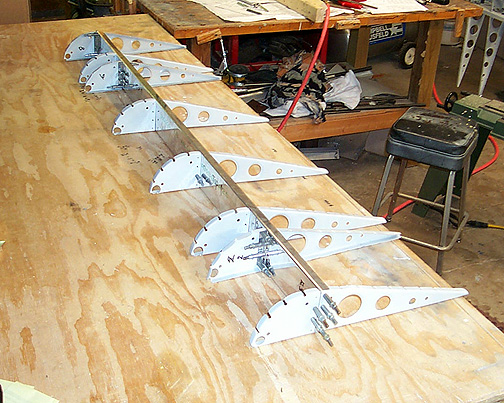
Even though the plans call for 3 rivets for the nose rib to attach angle, I used 4 rivets. I wanted a little extra strength due to the lead weighted tube.
The nose skin was fitted and drilled next. Again , like on the flaps, the skin was initially left full length and the hinge area was cut out later.
Here is a picture of the completed Aileron Skeletons:
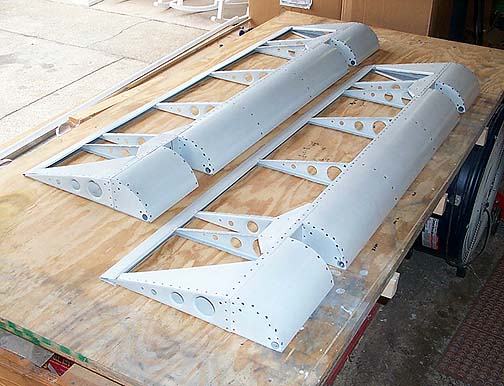
The trailing edges have just been slipped into place for now and will be permanently riveted in place after fitting with the wing. The counter-weights are riveted in place in the leading edges but I can't final balance the ailerons until the hinge brackets are attached. That won't happen until the wings are assembled and the ailerons are fitted to the wings. I'll cover that later.
Ailerons:
Completed: March 24, 2003
Total Time: 48 Hours
note: For now, the ailerons and flaps will be stored in a corner of the garage until the wings are assembled. At that time, they will be fitted to the wings, the hinge brackets will be drilled in place on the flap/aileron spars and nut plates will be attached inside the spars. The trailing edges will be riveted in place and finally, the ailerons and flaps will be fabric covered.