January 10, 2008
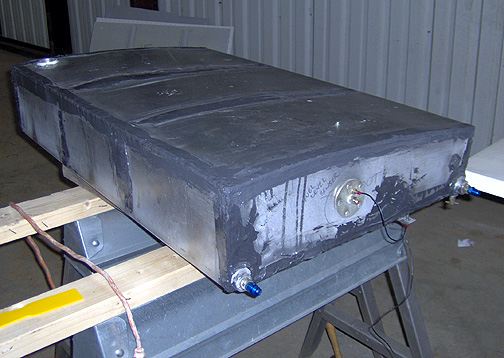
Even though I had thoroughly tested the fuel tanks by putting some air pressure in them and then putting soapy water all over looking for bubbles, I decided to fill them with fuel to test again. Each tank was filled to the top with fuel (they held 26 gallons each) and were allowed to sit for a while. Well, after about 5 minutes or so, I found that some of the rivets had slow seeps. That is, there was some fuel seeping out but it was not enough of a leak that would cause a puddle on the floor. One tank had about 5 or 6 seeping rivets and the other one had about 10. I believe these were the result of pulling the heat away too quickly when they were welded. Each rivet that was seeping had a tiny crater in it.
All leaking rivets were marked and the fuel was removed from the tanks. They were left sitting for a week to thoroughly dry out all the fuel.
Back when I was building my RV-6A, Van's was recommending a fix for seeping rivets. They recommended that you use some Loctite 290 (Wicking Formula). After much searching, I finally found a place that carries the Loctite 290 and it wasn't cheap (about $35 for a small a bottle of it). The technique is to put a slight vacuum on the tank and then put some of the Loctite on the rivet. Remove the vacuum and let it dry for a few days.
I let the Loctite cure for 3 days, and as an added precaution, I got a quart of Proseal to coat all rivets and seams from the outside. After a thorough sanding and cleaning, I applied a good coat of proseal on all rivet lines and seams on both tanks. During initial construction, I had coated just the baffle rivets on one tank with Proseal. Interestingly, there were no fuel leaks where the proseal had been applied, so I am fairly confident that my leaks are fixed. I will let the Proseal fully cure for at least a month before putting fuel in the tanks.
