November 1, 2007
There are a couple of little details that I needed complete before mounting the wings to the fuselage for the final time. I installed the cabin air vents in the root end of the wing. Also, the fuel lines from the tanks to root rib were installed and readied for a hose connection.
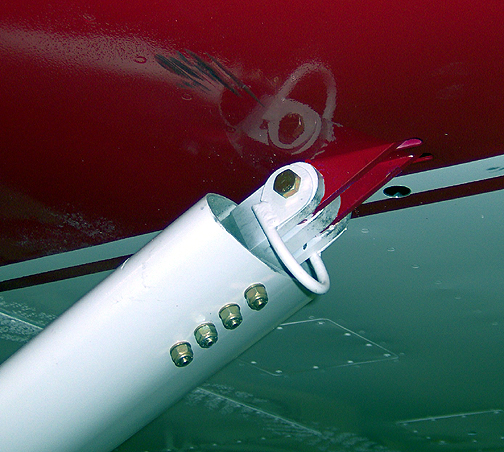
To provide a place for tie downs to the secure the airplane when it's parked
outdoors, I made some steel loops that bolt on with the upper wing strut
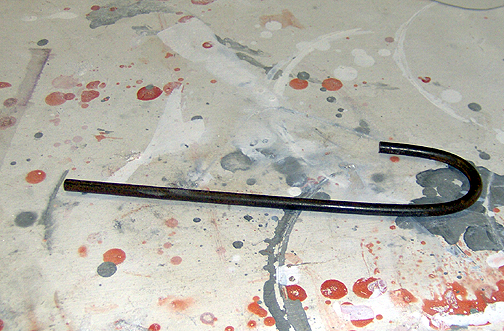
attachment. To make the tie downs, I started with some 1/4" steel rod and
cold bent it around some 1 1/2" pipe as show here:
The excess was cut off to form a "U" shape. Then some .063" 4130 steel
sheet was cut into 1 1/2" squares with a 3/8" hole in the center of each
one. These were then positioned to be 1/2" apart, parallel and with
their holes aligned. They were then welded to the "U" shaped rod as shown
here:
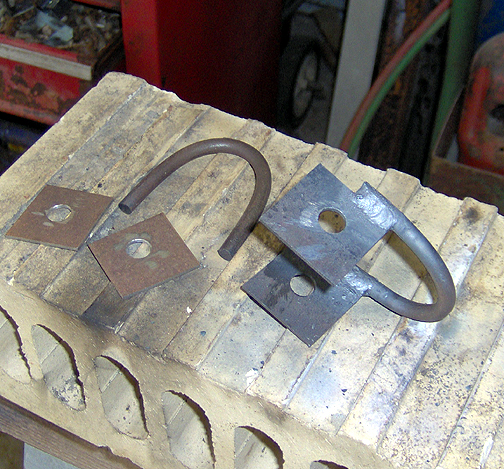
Note that the inside edges of the steel squares were aligned with the inside
edges of the "U" shaped rods to allow these to lay flat against the wing
strut mounts.
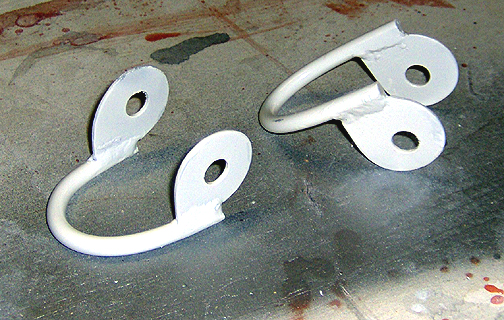
After welding, the steel plates were shaped on a grinder to remove the excess
and make them rounded. They were then cleaned, deburred and painted
with Epoxy Primer:
Here is what these look like after installation:
Mounting the Wings:
OK time to mount the wings for the final time. I was very fortunate to have a couple of other Bearhawk builders who happened to be down here on the coast today and they came on over to lend a hand (more on that later).
Just like when we first fitted the wings, I again went to the local rental store and rented a sheetrock lift. The sheetrock lift is designed to lift a sheet of sheetrock up to the ceiling and hold it there while you nail or screw it to the studs. It also works very well to lift the wing and hold it in place while we get the mounting holes all lined up the bolts slipped in. We put some plywood on top of the lift and covered it with a blanket to protect the paint.
First, the fuselage was put into the flight level attitude by putting the tail up on a sawhorse and using some blocks to raise it the correct amount. Then the wing was raised up with the sheetrock lift and slid into place in the wing mounts.
Here is the first wing being mounted (the yellow thing is the sheetrock
lift):
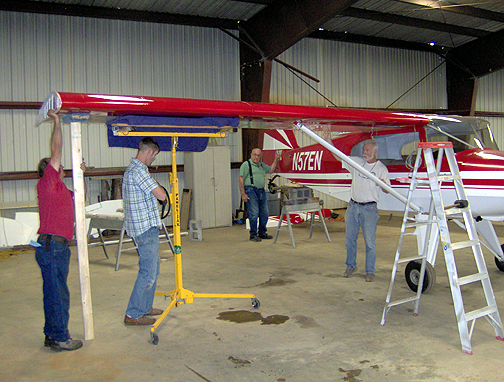
During the initial operation of putting in the wing spar bolts, we had
the sheetrock lift right near the balance point of the wing so it would almost
just sit there on its own and was steadied by one person at the tip. Once
the wing spar bolts were in, we had to move the lift outboard so it would
clear the lift strut attachment point. In the picture above, one of my helpers
is in the process of moving the lift to the other side.
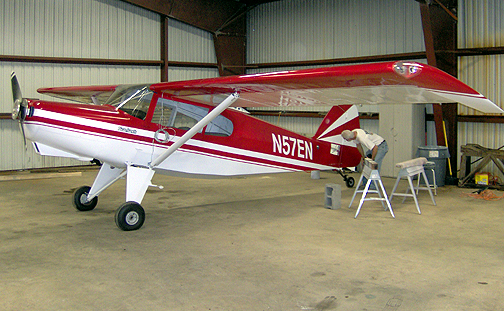
At this point the right wing and lift strut have been mounted and we are
propping it up with a very low tech device (an 80" tall "T" made from two
2 x 4's). Note that the top of the "T" is carpeted to protect the paint.
This "T" was used to assure the plane would not tip over while we moved
the sheetrock lift over to other side to mount the left wing.
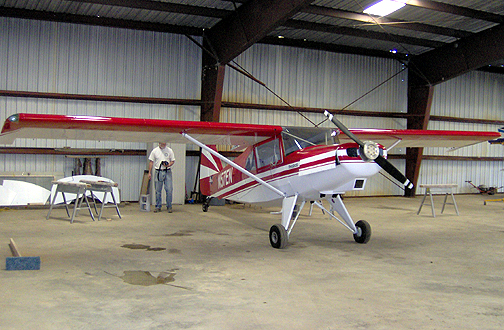
Here it is after mounting the left wing:
The wingtips were just slipped in place temporarily for now - just because
we could :>)
Here is the team of helpers who showed up and were very instrumental making
this wing installation a smooth operation:
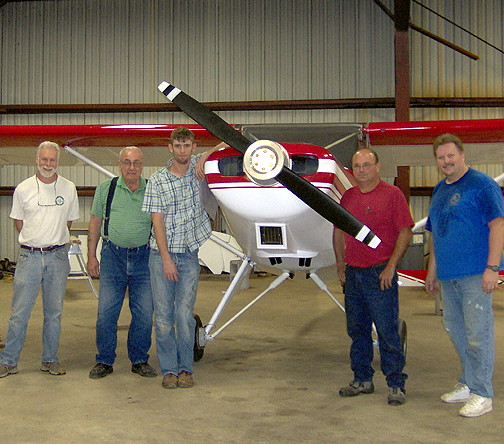
From left to right Georgia Bearhawk Builder John Rheney, my father-in-law
Lonnie Gibbons, future son-in-law Jason Thompson, Louisiana Bearhawk Builder
Buddy Boudreaux and yours truly Eric Newton (the only one sweating by the
way :>) Many thanks guys!!!
Of course this is a MVP (major visual progress) moment:
When we were done and were leaving the hangar, I kept looking back at it like a guy with a new car. What an awesome feeling - what an awesome day!!!!
Click here to go to the Final Assembly Index page
Click here to go to the Home page