You can see that several attempts were made until I was able to get the 2" needed.
Started November 25, 2005
The door flanges are made from .032 and .040 thick mild steel sheet. They
serve two functions.
1. They help shape the fuselage sides, giving it a rounder appearance.
2. They give the doors something to seal against.
The first flanges made were the rounded flanges at station B/P. As per the plans, these are rounded and end up being 2" wide at their widest point (see drawing #16).
These flanges were made using the same technique as for forming the wing ribs. The formblocks were made from some 3/4" plywood. The plywood is fine for this operation as only two flanges are needed.
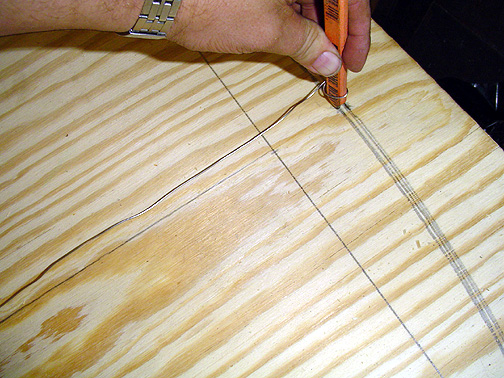
I started by drawing straight line 25" long (the length of the flange).
The goal is to make an arc that starts at one end of the 25" long line,
arcs out 2" from the line at it's center, then ends up arcing back to the
other end of the 25" line. To make the arc, I once again used a line,
pencil and nail. The line had a pencil tied to one end. The other
end was tied to a nail in the plywood. Through trial and error, a location
was found for the nail where the arc was correct. The arc ended up
the with radius being about 38.25":
You can see that several attempts were made until I was able to get the 2"
needed.
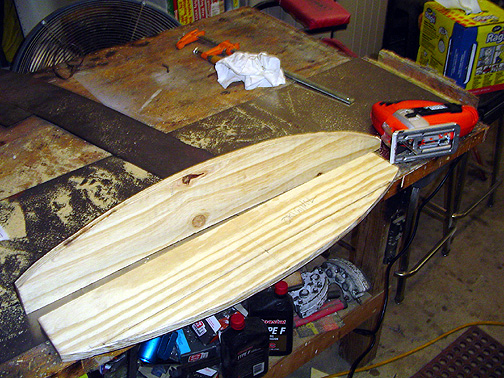
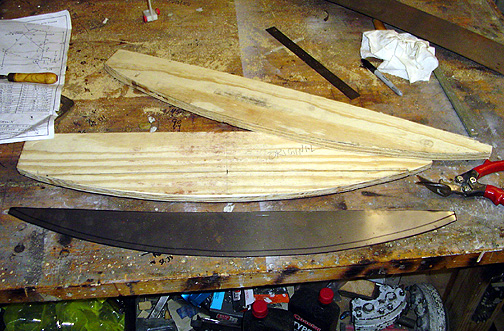
With the arc drawn out, the plywood was cut along the curved line with a
jigsaw and smoothed with a disc sander. The corner was radiused with
a 1/16" radius. A backup board was made the same shape but about 1/8"
smaller.
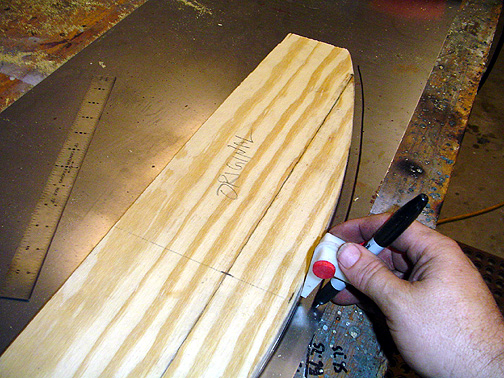
The main formblock was then used to draw the flange line on the piece of
.032 steel sheet. A tracing pen holder was set at 9/16" and used to
draw the cut line at 9/16" from the bend line:
Here is the door flange blank cut out and ready for forming:
Just like on the wing ribs, the door flange blank was clamped between the
two formblocks. Here it is clamped in the vice, ready for bending the
flange over with a hammer:
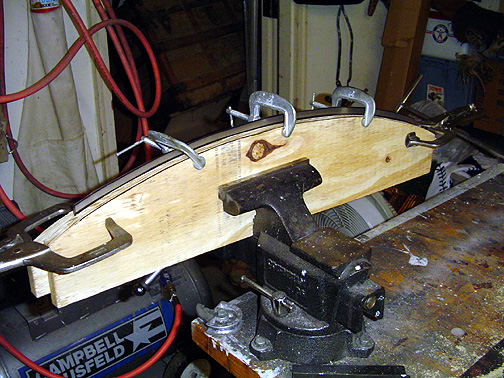
Here it is after forming:
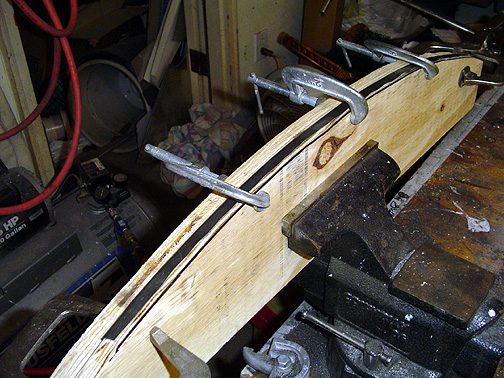
Just like the wing ribs, this flange was no longer laying flat on the table after forming. So again, the fluting pliers were used to put some flutes on the flange until the web would lay flat on the table top. The flutes were made at 3" intervals.
With the door flange formed and fluted, it was cut and filed to fit around
the tubes on the fuselage. A little trimming was needed to get it into
the proper position with the flange 2" from the center vertical tube of the
fuselage at station B/P. Here it is clamped in place and ready for
tack welding:
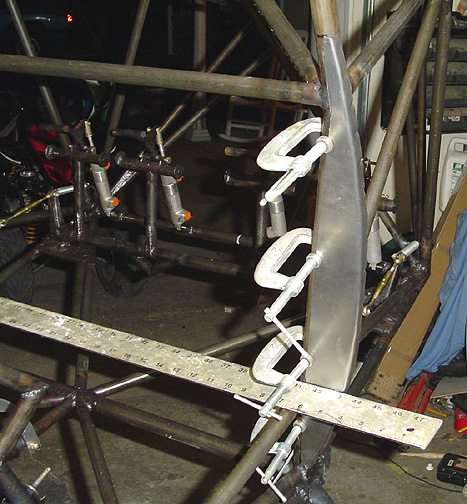
In the above picture you can see that a long straightedge is used to assure
the door flange is properly aligned . The straight edge goes to the
up tube on the opposite side and the web of the door flange is flat against
the straightedge.
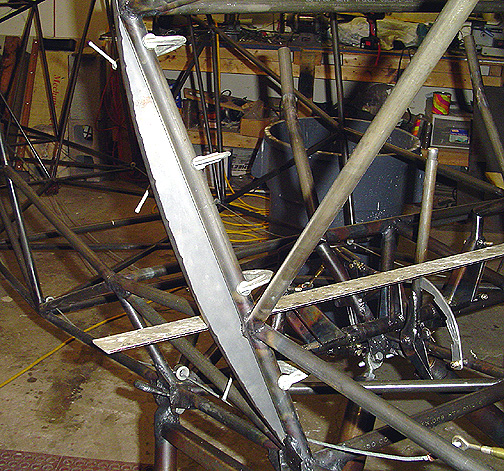
Here is a view from the firewall looking aft:
Click here to go to Door Flanges page 2