Firewall page 2

A marking spacer is used to trace the 5/8" flange around the firewall formblock:

Here is what it looks like before cutting:

The recessed area at the bottom has a 1/2" flange.  The remainder has a 5/8" flange.

The firewall was then cut out using some shears.  
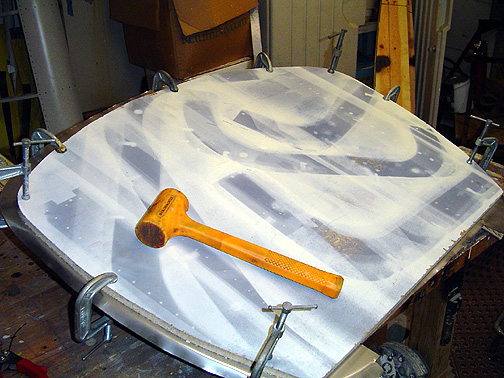
A backing board was made from some extra MDF that I had laying around the shop.  It was made about 1/4" smaller than the firewall formblock.  The stainless steel was properly positioned between the formblock and backing board and the whole sandwich was clamped using several "C" clamps as shown here:

The dead blow mallet was then used to form the flange much like was done when forming the wing ribs.

When the firewall was formed as much as possible, it was removed from the formblocks.  The edge looked something like this at this point:

The corners are especially ragged.  I was able to borrow a shrinker from a friend of mine.  His entire shop went under water during hurricane Katrina and this shrinker was submerged under salt water for several hours.  It was quite rusty.  I brought it home and submerged it in a pale of moor oil for a couple of weeks then took it out and cleaned it up. Its still a bit rusty but works like a champ:

The shrinker has two sets of jaws that grab the edge of the metal and then pushes it together slightly.  Its easy to over-do it.  Done correctly, the results are pretty good as can be seen in the below photo of the firewall:

The edge has been shrunk is nice and smooth but the corners needed a bit of extra fluting to get them to the correct angle and curve.  The idea is to get this part as flat as possible so its easier to get an air-tight seal between the flange and the side walls.  I'll use some high temp sealant i the flutes on final assembly.

Here is the completed firewall after it was back-drilled and bolted to the fuselage:

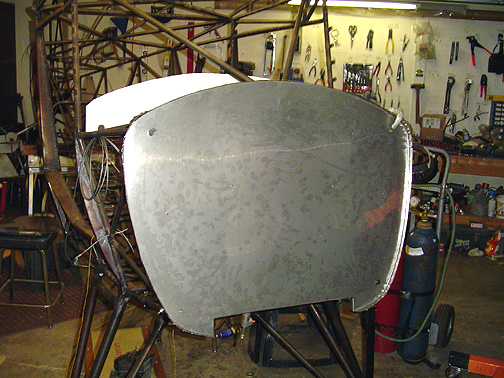
The little splotches are actually my fingerprints all over the place.  

And finally, here is the firewall with the engine and mount bolted in place:

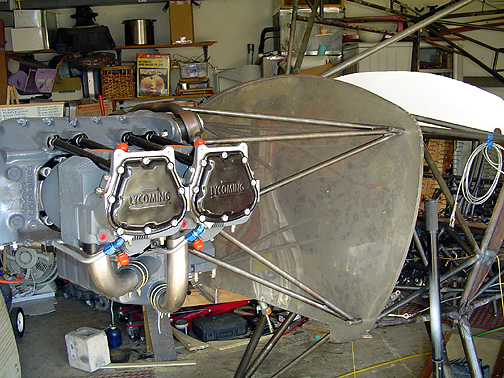
As a double check, I clamped the nose bowl in place and ran the strings as before.  Everything fit perfectly and the strings make a nice smooth transition from nose bowl to instrument panel and door flanges.

Firewall

Completed: 03/04/06

Total time: 16 hours