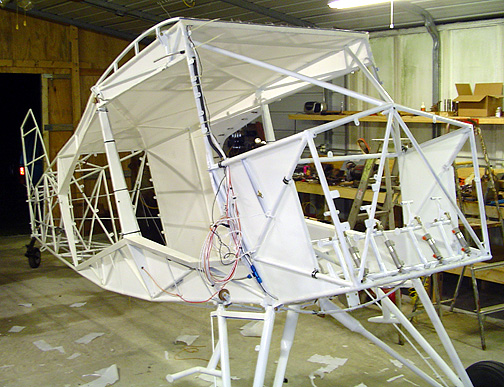
In the above picture, you can see the aluminum angle clamped in place near the front of the cabin. This gives you a place to terminate the fabric just before it reaches the rudder pedals.
Started November 13, 2006
I took a week of vacation and spent about 10 hours per day for the past 6 days going through the covering process of my Bearhawk. I had the help and guidance (as well as the use of his shop) from my mentor and tech counselor Mickey Whitenburg. The following pages will document what we accomplished in 6 days.
Preparations for covering the fuselage included installing the fuel system and running all of the wiring for the fuselage.
Once that was done, the fuselage was moved to Mickey's shop where there is a lot more room and the annoying fumes can go out into the atmosphere instead of into my house.
I will be using the Poly-Fiber system throughout, for all of the fabric covering and painting. The details on fabric covering were shown previously in the wing section of this website (see covering the flaps and ailerons) so I won't repeat it all here, but the process is the same. Cut to fit, glue it to the structure, heat shrink it, poly brush, rib stitch as needed, tape and poly spray.
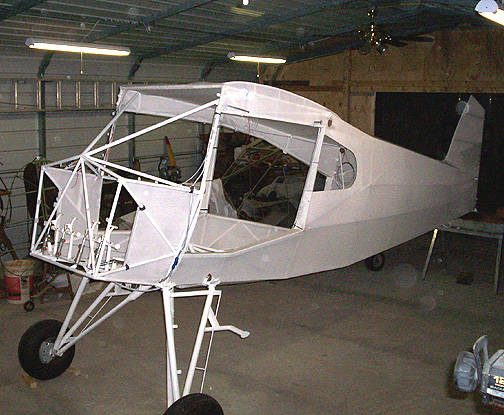
The first thing to be covered was the interior. This has to be thought out some because you can easily paint yourself into a corner if you are not careful. Study the October 1999 Bear-Tracks carefully to get an idea of how everything goes.
Here is the completed interior.
In the above picture, you can see the aluminum angle clamped in place near
the front of the cabin. This gives you a place to terminate the fabric
just before it reaches the rudder pedals.
Looking back, I would say the interior was the biggest challenge of the entire covering process. There are a lot of little tubes, tabs, fairleads and pulleys to get around and its quite time consuming. The payoff is a very light but durable interior.
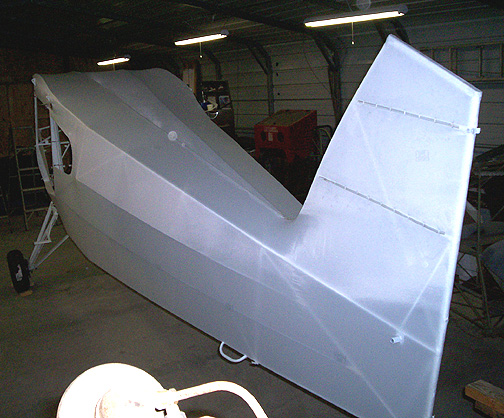
The exterior was done next. One piece of fabric will not wrap around the whole fuselage so a seam is needed. The seam runs up the left top stringer. The seam stops right at the base of the vertical fin where the little curved tube is. Rather than run the seam all the way up the vertical fin, the fabric will be wrapped and glued to the vertical fin since it is a primary structure.
As per the Poly Fiber book, you cannot simply wrap and glue the two halves to the stringer because it is not a primary structure. A seam must be sewn using the approved Poly Fiber thread.
This is where it helps to have a loving and supportive wife who actually
knows how to sew and enjoys it. Here is my wife Michelle, sewing the
fuselage seam for me:
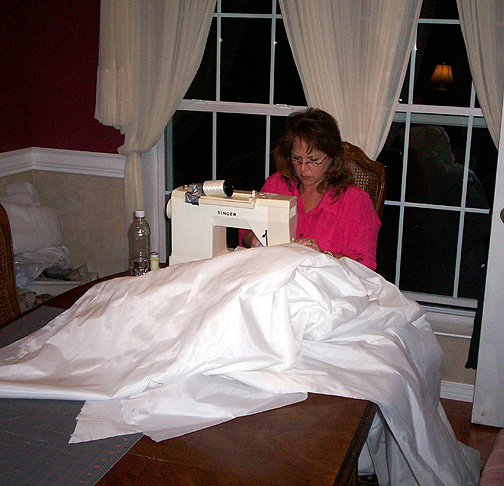
Note the large spool of Poly Fiber thread duct taped to the sewing machine.
It wouldn't fit on the spool holder.
Now the envelope that we made can be installed and clamped in place with
the seam running exactly along the top, left stringer full
length: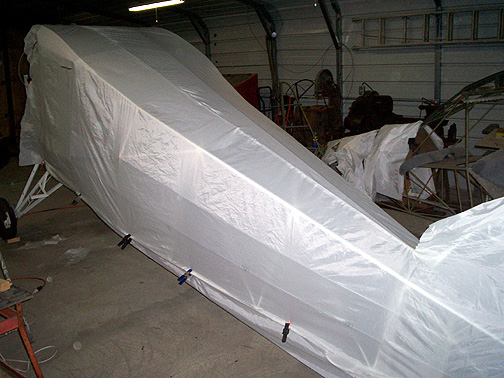
The seam ends (or begins) right at the point where the vertical fin meets
the fuselage top stringers (on the little curved tube).
The left side of the vertical fin was then cut to fit and glued in place
with a 1 inch overlap of the right side:
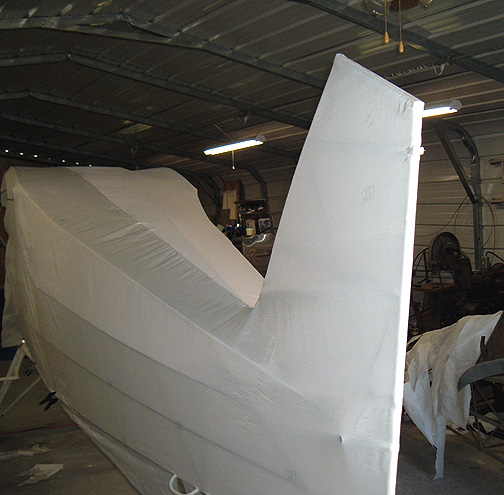
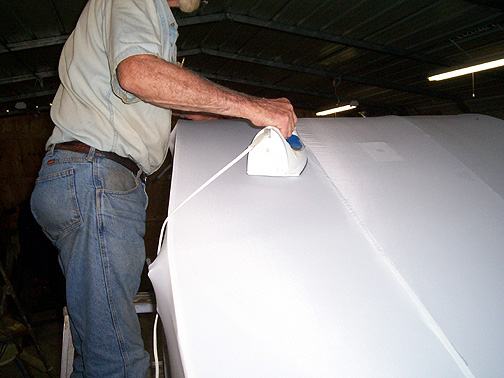
Once its all on and glued in place, the fabric is heat shrunk with calibrated
irons. During the entire shrinking process, a lot of attention must be paid
to the seam area along the top, left stringer. As you shrink the fabric,
this seam tends to "walk" a little. Heat it slowly, and evenly from
left side to right side, alternating back and forth to keep the seam centered
and straight. The seam will be covered with tape but you will still
be able to see it, so take your time and keep straight.
Here is what it looks like after 6 days of work:
Now its time to turn it all pink. Poly Brush is used to fill the weave and is, as the name implies, brushed on (for the first coat anyway).
Click here to go to Fabric Covering page 2