Curved areas like where the vertical fin meets the top stringers of the fuselage and around the rear windows are a bit challenging because the tape doesn't want to bend around corners. We used bias cut, 4" tape in those areas.
With the first coat of Poly Brush on, we will start the taping process as outlined in the Poly Fiber manual. Basically, you have to apply reinforcement tapes any place where there is a hard point. Longerons, stringers, door flanges, window openings, etc., all must have reinforcement tape applied.
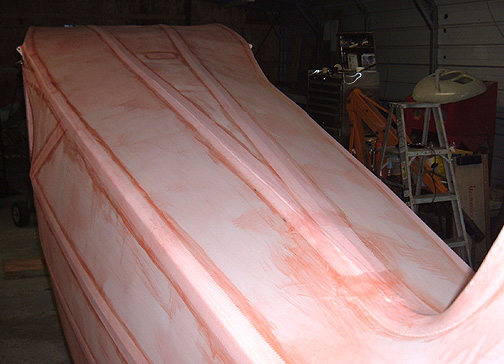
Here is the top looking from the tail forward along the top stringers and
longerons:
Curved areas like where the vertical fin meets the top stringers of the
fuselage and around the rear windows are a bit challenging because the tape
doesn't want to bend around corners. We used bias cut, 4" tape in those
areas.
Next it was time for the Poly Spray. This is when you get to see any flaws. The Poly Spray is applied as a single wet cross coat and then let dry overnight then another wet cross coat before sanding.
Here it is with the first cross-coat of Poly Spray:
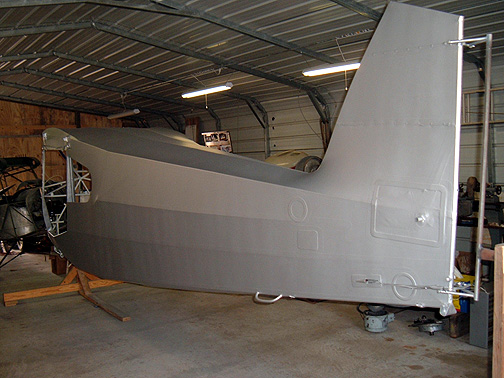
Well, its really starting to look like an airplane now. We had just
a few, very minor tape edge lifts which will be ironed down with teflon tape
and iron before applying the next cross coat of Poly Spray. I'm letting
each cross coat of Poly Spray dry overnight before applying the next. Once
2 cross coats (that's actually 4 coats) are on, it will be carefully sanded
and then a final cross coat of Poly spray will go on before applying the
white Poly Tone paint.
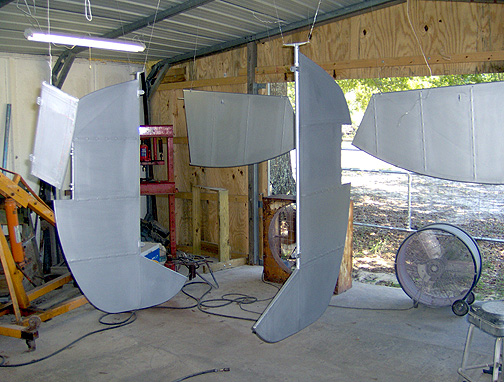
Of course all of the control surfaces and tail feathers need to be covered
as well. Here they are with the Poly Spray coats can be sprayed on: