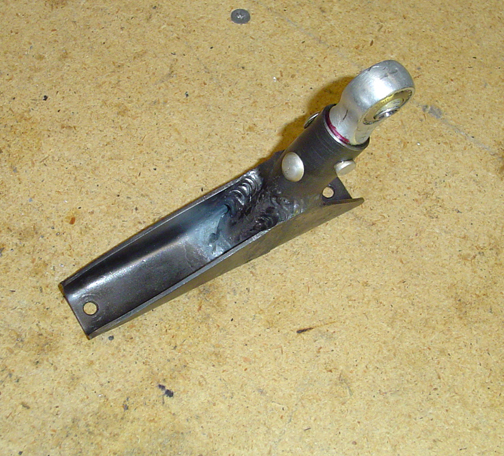
Here is the finished product with both rivets in:
With the flap done, its time to do the aileron. I mounted the flap again for alignment purposes.
The first step is to mount the hinges to the rear spar of the wing. Again, you don't have a choice with the inboard (drive) hinge as it is bolted to the aileron support frame that was previously installed in the wing. The bottom bolt (1/4") is bolted in conjunction with the support frame and the top (2 legs) which are 3/16" need to be drilled to the wing spar.
Here is a picture of the first (inboard) aileron hinge mounted to the rear spar of the wing:

As you can see, I will need to open up the lightening hole in the wing's rear spar web to allow the aileron push rod to pass through.
Here is a picture of where we are at this point:
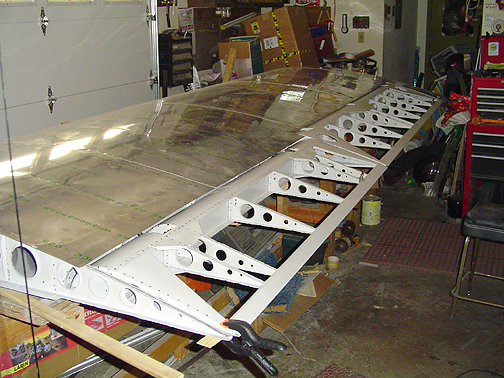
The only thing left to do is to align the trailing edges (they are only clamped in place at this point).
When its perfect, they can be drilled and pop riveted to the flap and aileron ribs using stainless steel pop rivets.
That's it! The flap and aileron can now be removed and covered. The hinges will be sand blasted and primed with epoxy primer, then bolted to the wing permanently.
Control Fitting
Completed: July 25, 2004 (left wing), October 28, 2004 (right wing)
Total time: 40 hours
Click here to go back to Control Fitting page 1