Man - this airplane is sure getting dirty in this hangar. I'll wash it as soon as I finish up these gap fairings and install the Comm antenna on top.
Here are both sides completed except for paint:
Man - this airplane is sure getting dirty in this hangar. I'll wash
it as soon as I finish up these gap fairings and install the Comm antenna
on top.
The final bit of business for the wing to fuselage gap fairing is the part
that wraps around the windshield and leading edge of the wing. Again, some
poster board paper was used to create some nice fitting templates:
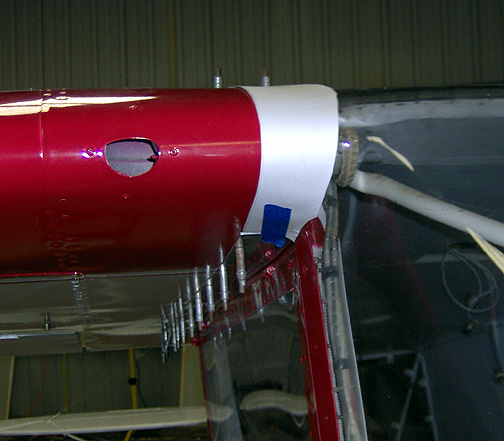
This was trimmed and fitted until there was snug fit around the windshield
as well as the wing.
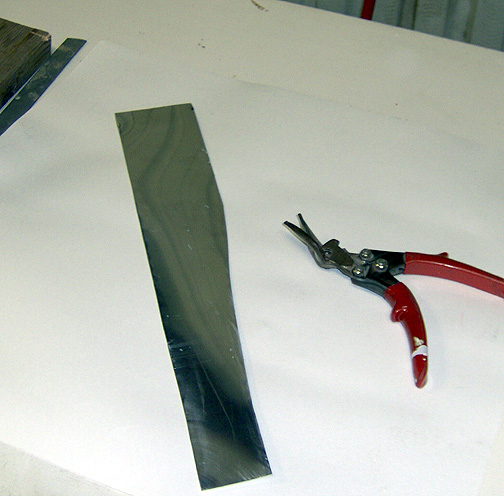
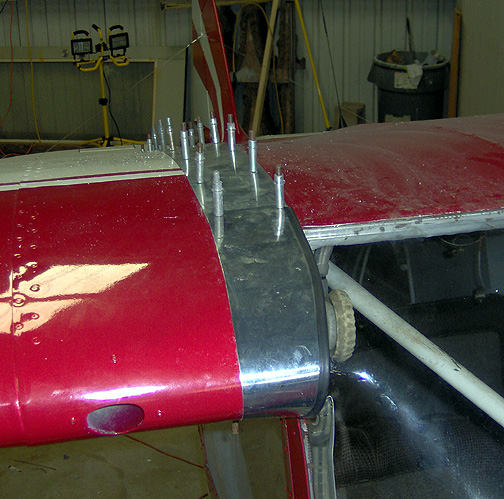
The template was then traced onto some .020 aluminum (thinner for easier
forming) and cut out. Here it is before shaping around the wing's leading
edge:
The piece was then formed and bent to match the shape of the wing leading
edge. It was trimmed slightly and shaped to make a nice fit with the
windshield:
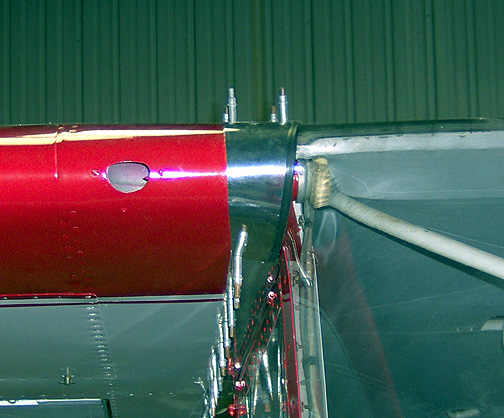
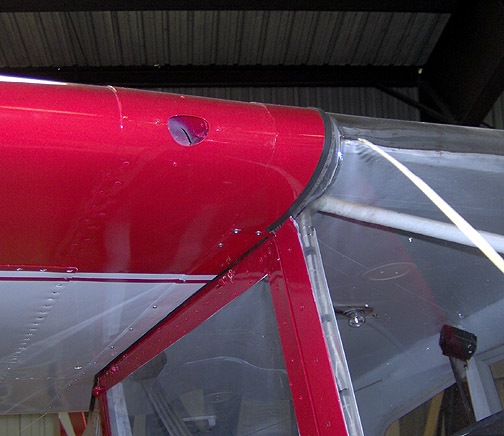
As you can see the rubber channel has been placed on the gap fairing and
it has been drilled in place to the wing.
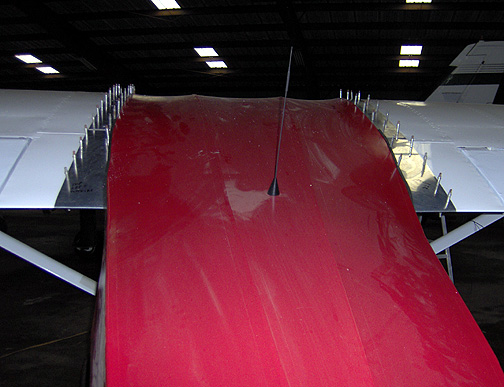
Here is the top side of the fairing:
There's that dust on top of the fuselage again. I have GOT
to get this thing washed.
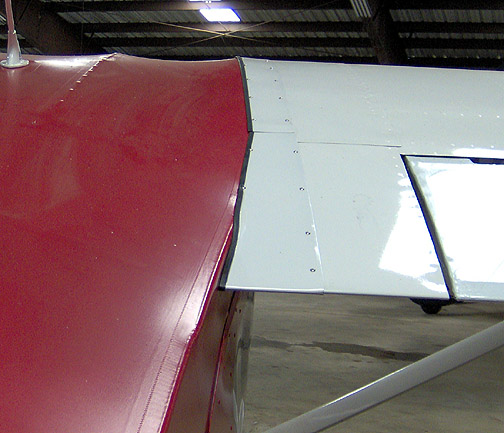
That completes the fabrication of the wing to fuselage gap fairings. The wing gap fairings were removed, prepped, primed and painted Red or White depending on location The screw holes along the 1/2" steel wing former on the top of the fuselage were tapped for #6-32 screws and platenuts were installed on the wings.
Here is a picture of the gap fairing after
painting:
 \
\
And here it is at the aft
end:
Wing Gap Fairings
Completed: Februrary 17, 2008
Total Time: 14 hours