Photo from Russ Erbs CD
Started April 13, 2007
The main window frames were made using steel 3/4" square tubing as
covered previously. Now its
time to install the some Plexiglass in the window frames. First let's
talk about Plexiglass vs. Lexan. Actually Lexan is a better product
in many ways and would usually be the window of choice, however in this
application it's not so good. Lexan doesn't do so well when Avgas gets on
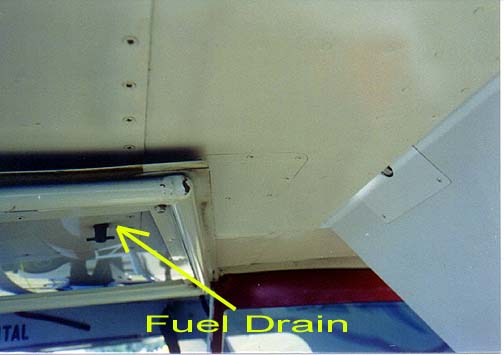
it. The design of the Bearhawk exposes the side windows to the possibility
of getting a drop or two of Avgas on the window. How? Take a
look at how the window folds up under the wing and you will note that with
the side windows up, they fall right under the fuel tank drains:
Photo from Russ Erbs
CD
Plexiglass is not affected by the AVgas like Lexan is, so I chose regular Plexiglass. To save weight i planned to use 1/16" thick Plexiglass. However, checking with my local Home Depot store, I found the Plexiglass available only in .080" thickness, which is a little thicker than the 1/16" I was planning to use, but not too bad.
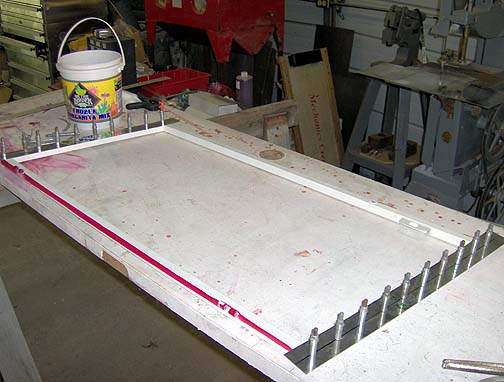
The first step is to make the outer window skins that cover the window frame,
contain the Plexiglass window and form a seal against the door and fuselage.
Using some .025 aluminum (2024 T3), cut into 1 3/4" wide strips, the front
and aft aluminum strips were fitted to the door frame. The strips were positioned
to allow a 1/2" overhang on the inside of the frame and a 1/2" overhang along
the outside edge. The holes were drilled with 2" spacing and the strips left
about 1" long on each end.:
The plexiglass is sandwiched between the window frame outside skin and some
1/2" aluminum angle on the inside. With the outside skin of the window complete,
the inside pieces of 1/2" aluminum angle were cut to fit in place The
inside corners were mitered to fit together as shown here:
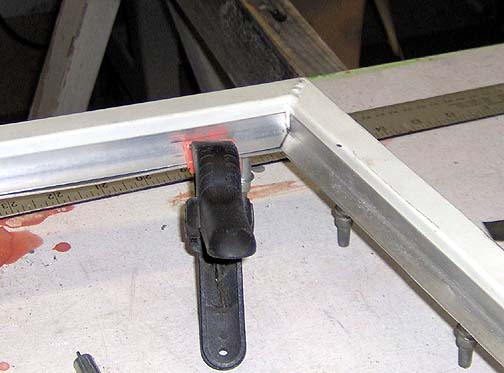
These pieces of aluminum angle will hold the plexiglass in place.
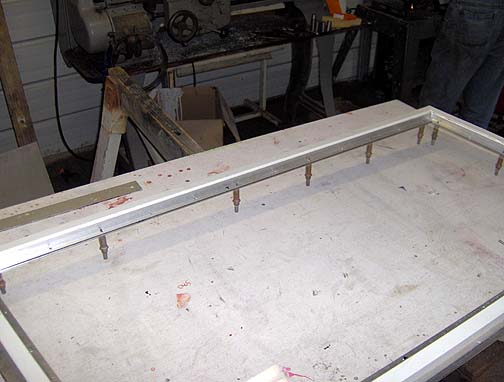
Now the plexiglass can be cut to fit the window frame. The aluminum strips were removed from the window frame. Then the plexiglass was placed on the table top and the frame was placed on to the plexiglass. Using a Sharpie marker, the inside of the window frame was drawn onto the Plexiglass.
Here is window with the Plexiglass installed and intial drilling completed:
Here is the completed side window on the pilot's side:
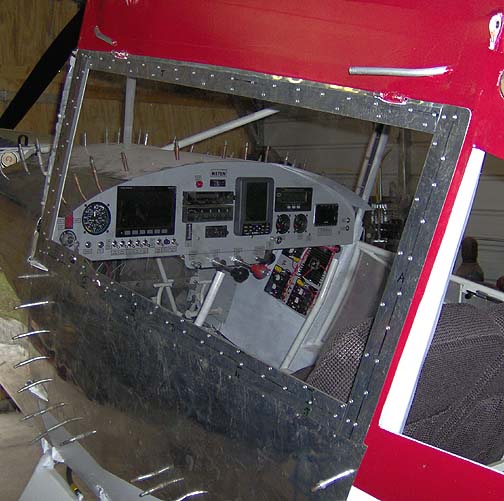
As you can see, we have a nice tight fit all the way around. Yes the Plexiglass
is in there, it's just very clear.
![]() Come
back later for more . . This page was last updated on April 15,
2007.
Come
back later for more . . This page was last updated on April 15,
2007.
Click here to go back to the Final Assembly page