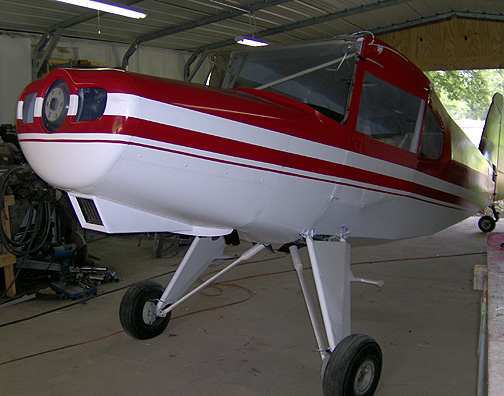
The metal parts and nose bowl were painted next as can be seen below.
Here are some pictures:
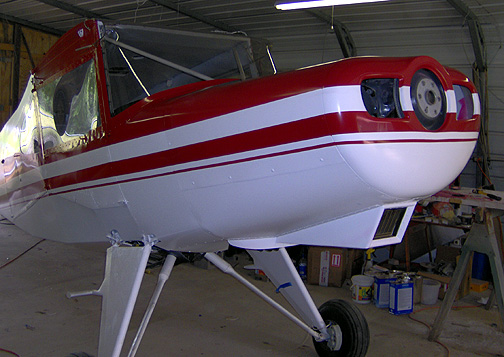
The right quarter front shot:
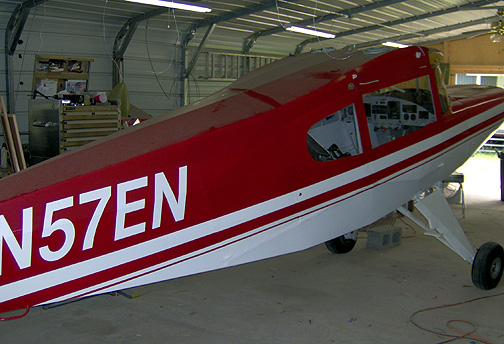
Done correctly, the cargo door virtually disappears:
The top is just dusty from generally sitting in the shop and not being washed for a few months.
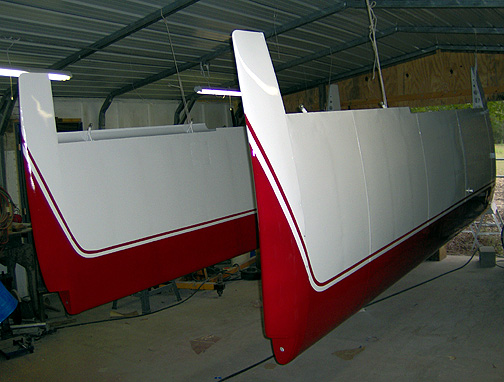
The wings were hung by their hinges and painted as shown below.
Click here to go to the home page