Started February 23, 2008
You get to a point eventually in this build process where you just have a lot of little stuff to do. Since most of this doesn't fit anywhere else, I decided to just make a page for all of the little details of the final assembly of the interior.
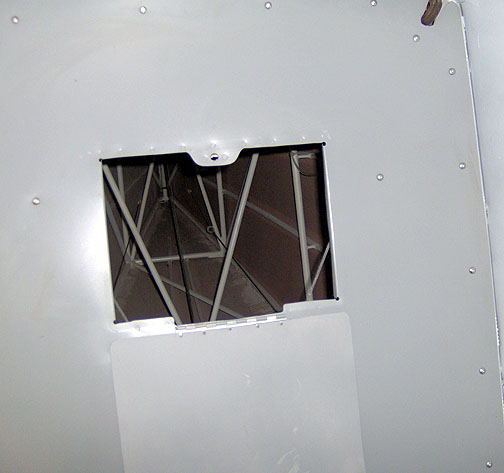
One item that I needed to complete before closing up the rear bulkhead was
the static system. Once that was completed,
the aft end of the fuselage was thoroughly vacuumed and then the rear baggage
bulkhead was installed. Here it is with the little inspection door
open:
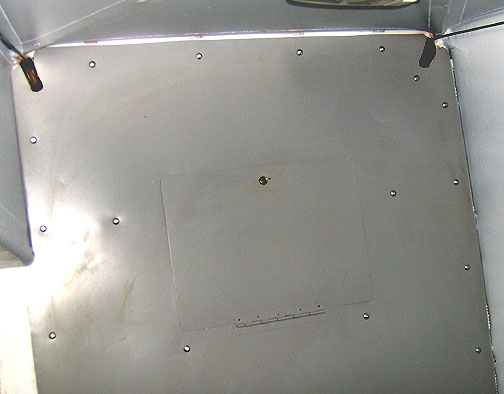
Here is the baggage bulkhead with the inspection door shut:
The control stick grips contain push switches for up/down trim as well as
PTT (push to talk) for the Comm radio. Here they are all wired and
installed:
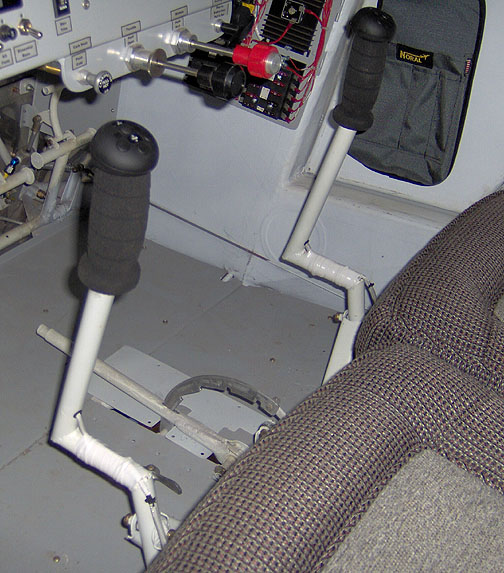
The wiring harness runs through a hole with a rubber grommet in it at
the base of the vertical tube. The wires were tie wrapped to the control
stick horizontal tube and run back to the area under the seat. This
was wrapped with white vinyl tape to protect the wiring harness.
I had to rig a way to hold the cargo doors open. If not restrained,
the aft cargo door will swing open too far and the edge of the skin will
cut into the fabric on the fuselage side. To limit the opening of the
aft cargo door, a simple 1/16" cable was made up and attached to the top
of the door and the door frame with a screw and large area washers:
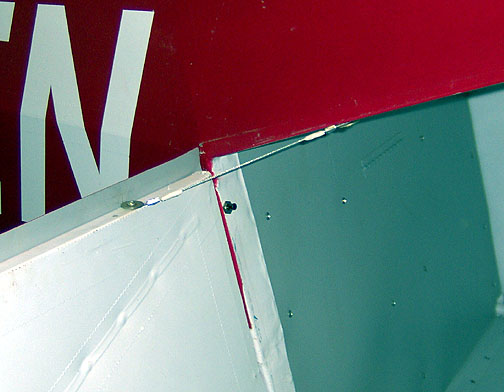
The screws were left loose enough to allow the cable ends to pivot under
the washers. Red Loctite was used to secure the screws.
The front part of the cargo door system will not stay open by gravity like
the aft door will, so some positive way must be devised to hold it open.
I have seen a couple of methods from a clip under the wing to what
Bob used on the prototype, a cord tied off to the wing strut. While looking
around the local Home Depot, I found what I considered to be a fairly good
solution. What I found is a mechanism that is designed to hold cabinet doors
open. Here is a picture of the device holding the forward cargo door
in the open position:
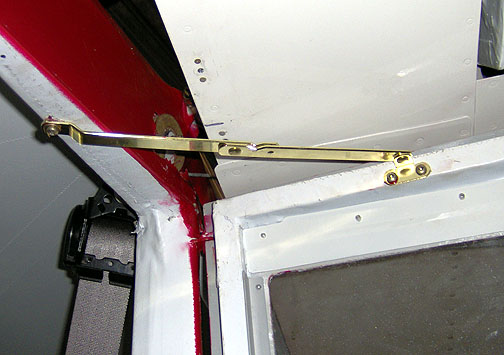
The above device comes in a right hand and left hand version. The
one above is a Left Hand one. I just drilled and tapped holes for
8-32 screws to attach it.
Here it is from the inside with the door closed:
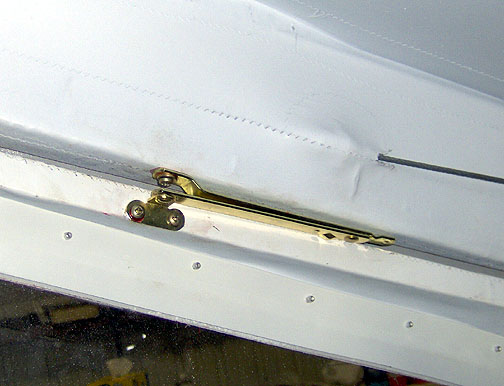
Works great and is lightweight.
The seat belts were installed for the final time.
I decided to use interia reel shoulder harnesses so I can bend forward
and reach the flap handle easier.

The ceiling of the cabin has two dome lights. Up front are some map reading
lights and an overhead light is installed in the baggage area:
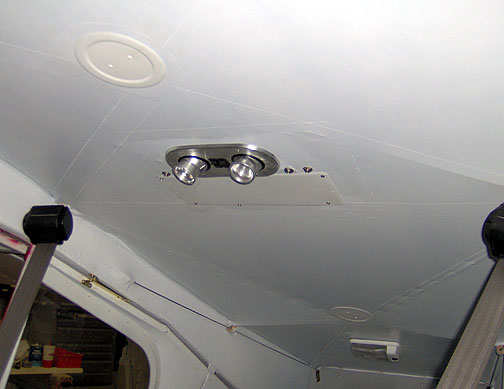
Note also that the inspection hole covers have been installed. The
headset jacks for the rear seat passengers were installed overhead.